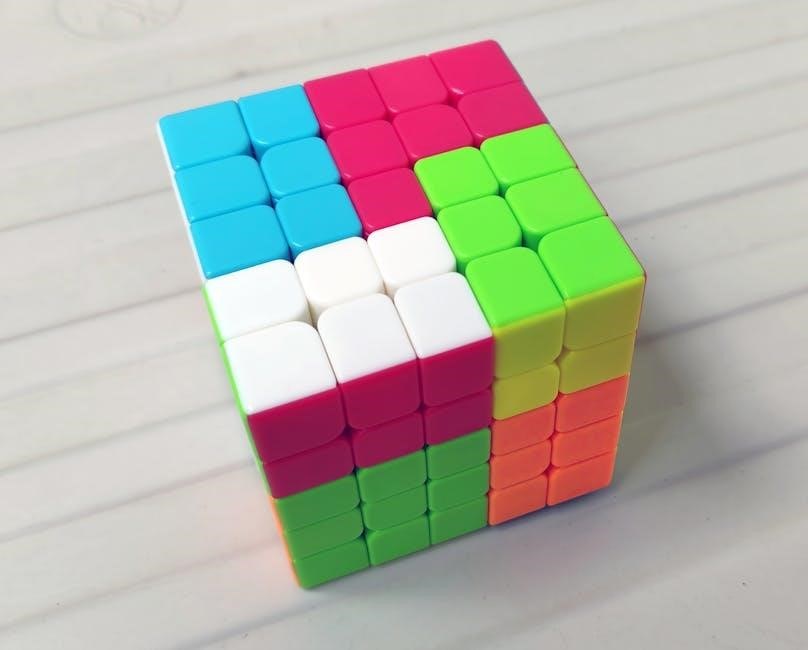
Crafted from transparent plastic, Crystal 3D puzzles offer a unique, challenging way to create stunning three-dimensional models. These intricate designs combine art and logic, requiring patience and focus to assemble. Perfect for improving hand-eye coordination and problem-solving skills, they make an engaging and rewarding hobby for puzzle enthusiasts of all ages.
Overview of Crystal 3D Puzzles
Crafted from transparent plastic, Crystal 3D puzzles are challenging and visually stunning. These puzzles require assembling interlocking pieces to form intricate 3D models. Each puzzle is unique, with designs ranging from simple shapes to complex structures. They are designed to improve hand-eye coordination and problem-solving skills. Most puzzles take 4-6 hours to complete, making them a fun and rewarding hobby. The transparent design allows light to shine through, creating a beautiful display piece. With patience and focus, these puzzles offer a satisfying experience for enthusiasts of all skill levels.
Understanding the Components
Crafted from transparent plastic, Crystal 3D puzzles are challenging and visually stunning. These puzzles require assembling interlocking pieces to form intricate 3D models. Each puzzle is unique, with designs ranging from simple shapes to complex structures. They are designed to improve hand-eye coordination and problem-solving skills. Most puzzles take 4-6 hours to complete, making them a fun and rewarding hobby. The transparent design allows light to shine through, creating a beautiful display piece. With patience and focus, these puzzles offer a satisfying experience for enthusiasts of all skill levels.
Identifying Key Pieces and Connectors
Begin by sorting pieces based on shape and size. Key pieces often have unique features or connectors that fit into specific slots. Examine each piece to identify flat sides, protrusions, or notches, as these indicate how they connect. Study the puzzle image to understand how shapes align. Connectors typically fit together without force, so focus on matching flat sides first. Use trial and error to test fits, ensuring pieces align smoothly. Patience is essential, as improper alignment can hinder progress. Avoid forcing pieces, as this may damage the puzzle. Proper identification ensures a sturdy and accurate assembly.
Preparation for Assembly
Ensure all pieces are accounted for and instructions are available. Clear a spacious, well-lit workspace and organize pieces by shape and size. Study the puzzle image to understand the structure before starting assembly.
Setting Up Your Workspace
Begin by choosing a sturdy, flat surface and covering it with a protective layer like a tablecloth or cardboard. Organize pieces by shape and size, referencing the puzzle image for guidance. Ensure excellent lighting, possibly using a flashlight to highlight transparent pieces. Keep tools like a small screwdriver handy for aligning pieces without force. Maintain a distraction-free environment, perhaps with soft music, and have snacks nearby for energy. Verify all pieces are present before starting. This organized setup will enhance your assembly experience.

Studying the Puzzle Image
Examine the puzzle image on the box or instructions to understand the final shape and structure. Identify key features, such as symmetry, color patterns, or distinctive shapes. Familiarize yourself with how layers and sections connect. Use the image to locate tricky areas or unique pieces early on. This visual guide will help you mentally map out the assembly process, ensuring each piece fits logically. Take notes if needed, and refer back often to stay on track and maintain a clear vision of the puzzle’s completion.
Step-by-Step Assembly Guide
Begin with the base, aligning pieces carefully to form a stable foundation. Follow the visual guide, connecting layers systematically. Ensure each piece fits smoothly without force, building upward with patience and precision to achieve the final structure.
Building the Base
Start by identifying the base pieces, typically flat or marked with a unique shape. Use the puzzle image as a reference to ensure proper alignment. Begin by connecting these foundational pieces, securing them firmly without force. Pay attention to tabs and slots, ensuring they fit naturally. Once the base is complete, it will provide stability for the rest of the puzzle. Take your time to verify each connection, as a sturdy base is essential for the overall structure. This step sets the stage for successfully assembling the remaining layers.
Assembling Middle Layers
After completing the base, focus on assembling the middle layers. Sort the remaining pieces by shape and size, identifying those with connectors that align with the base. Carefully fit each piece into place, ensuring they match the corresponding sections of the puzzle image. Gently press pieces together until they click securely. For tricky sections, use the flashlight technique to spot gaps or misalignments. Maintain balance and stability as you build upwards, checking each layer for proper alignment before moving on. This step requires patience and attention to detail to ensure a seamless structure.
Adding the Top Layers
Once the middle layers are secure, focus on adding the top layers to complete the puzzle. These pieces often include intricate details and connectors that finalize the structure. Examine each piece carefully, matching it to the puzzle image. Gently press pieces into place, ensuring they align perfectly with the layers below. Use a flashlight to spot any gaps or misalignments. Handle the top pieces with care to avoid scratches. With patience, the final layers will come together, revealing the full beauty of your Crystal 3D Puzzle. Completion brings a satisfying sense of achievement!
Handling Tricky Sections
Tricky sections require patience and careful alignment. Use a flashlight to identify hard-to-see pieces and ensure proper fitting without force to avoid damage.
Aligning Pieces Correctly
Aligning pieces correctly is crucial for a seamless assembly. Start by matching the flat sides of the pieces, ensuring they fit naturally without force. Use the reference image to guide your placement, especially for intricate sections. Pay attention to connector shapes and orientations, as misalignment can hinder progress. If a piece doesn’t fit, double-check its orientation or try another nearby piece. Avoid twisting or forcing pieces, as this may damage the puzzle. Shine a flashlight through transparent pieces to help identify proper connections. Patience and methodical checking ensure a sturdy and accurate structure.
Final Touches
Final touches involve ensuring the puzzle is stable, all pieces are securely connected, and the structure is balanced. Inspect for any gaps or misalignments and adjust as needed for a polished finish.
Ensuring Stability and Completion
To finalize your Crystal 3D Puzzle, conduct a thorough inspection to ensure all pieces are correctly placed and connected. Check for any missing pieces or gaps, using a flashlight to spot hidden sections. Align edges carefully to maintain structural integrity. Gently shake the puzzle to verify stability; if it wobbles, adjust the connections. Once satisfied, your puzzle is complete and ready for display. This step ensures durability and showcases your accomplishment, transforming it into a beautiful, lasting piece of art.
Tips for Success
Stay patient and focused, as Crystal 3D Puzzles require time and attention. Study the image thoroughly, ensuring each piece fits naturally without force. Maintain a clean, well-lit workspace and organize pieces by shape or color. Avoid rushing and gently align connectors. Shine a flashlight to locate tricky sections. Double-check your work to ensure stability and completion. Celebrate your progress and enjoy the rewarding experience of creating a beautiful, intricate design.
Maintaining Patience and Focus
Maintaining patience and focus is crucial when solving Crystal 3D Puzzles. These puzzles are complex and require a calm, steady approach. Start by setting realistic expectations and breaking the task into smaller steps. Create a quiet, well-lit workspace to minimize distractions and keep your mind clear. Shine a flashlight through the puzzle to help identify tricky pieces or missing sections. Avoid rushing, as this can lead to frustration. Instead, take breaks when needed to recharge your concentration. Remember, the journey is as rewarding as the final result, so embrace the process and enjoy the challenge.

Common Mistakes to Avoid
Common mistakes include forcing pieces together, which can damage the puzzle, and not following instructions. Proper alignment and patience are essential for a successful assembly process.
Forcing Pieces Together
One of the most common mistakes when assembling a Crystal 3D puzzle is forcing pieces together. This can lead to misalignment, damage to the connectors, or even breakage of the plastic. Always ensure that pieces fit naturally without excessive force. If a piece doesn’t align properly, check its orientation or try a different piece. Patience and careful examination are crucial to avoid unnecessary stress on the components. Remember, gentle handling and proper alignment are key to a successful and intact assembly process.
Troubleshooting
If pieces are missing or misaligned, carefully re-examine the puzzle image and instructions. Ensure all components are accounted for and properly oriented before assembly.
Identifying Missing Pieces
Before starting, ensure all pieces are accounted for by verifying against the instruction manual or puzzle image. If a piece is missing, carefully re-examine the packaging or workspace. For transparent pieces, shine a flashlight through the puzzle to locate them. Cross-reference the puzzle’s design with the provided image to confirm the shape and orientation of each piece. If a piece is still unaccounted for, consider reaching out to the manufacturer for assistance. Organizing pieces by shape and size can also help in identifying any missing components during assembly.
Completing a Crystal 3D Puzzle is a rewarding experience that combines patience, focus, and creativity. These puzzles not only challenge your problem-solving skills but also result in a beautiful, display-worthy piece. The sense of accomplishment upon finishing is incredibly satisfying. Remember, persistence is key, and the journey of assembling each piece is as enjoyable as the final result. Whether you’re a seasoned puzzler or a newcomer, Crystal 3D Puzzles offer a fun and engaging way to unwind and exercise your mind.
Be First to Comment